I have a project where I want to place a number of 2x2x2cm voxels on brain scans to imitate MR Spectroscopy voxel placement. It seems that using ROIs to generate these is the best approach, however, I couldn’t find an efficient way to convert these CUBIC ROIs into Segments/Label maps.
Well, figured it out. You create a template Segment using thresholding 0-to-max (i.e. to select all voxels). Convert the segment to a labelmap. Use this labelmap with Crop Volume module and use the ROI for cropping, and there you go. A labelmap with shaped exactly as the ROI.
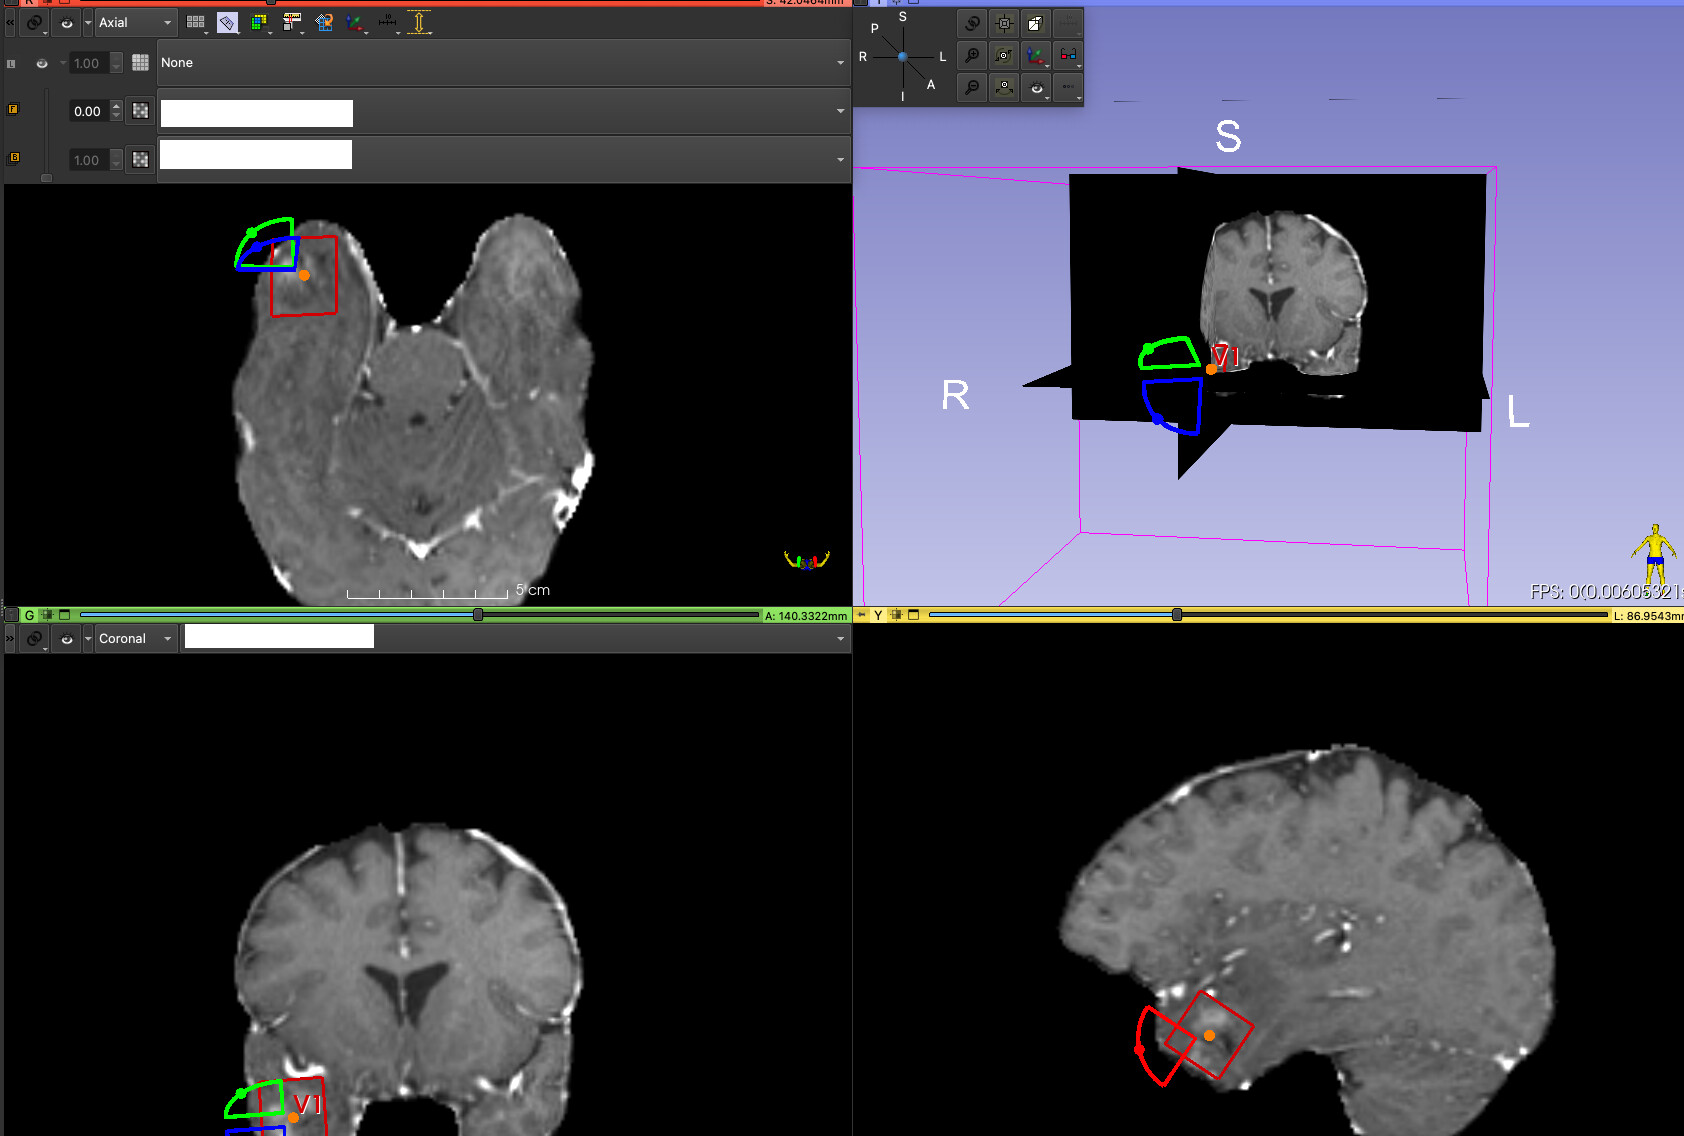
To me, they align quite well. The extra space outside of the ROI is due your spacing. Segmentation has to follow the voxel boundaries.
If you want to ROI boundary and the segmentation to align more precisely, you can increase the resolution of the segmentation (but of course that will also increase the memory consumption).
(purple is output of flood will, red box is the ROI).
But then It would still have to be converted to a segment or label map. So it’s 1 step less to just have a hi-resolution template file to Crop to the dimensions of the ROI.
It uses the Template volume (“TEMPLATE_for_CROPPING”), and then the ROIs are named V1…10. And then the script iterates on the ROIs and generates Cropped_V1…Cropped_V10 scalar volumes. Simple but useful. My project is expected to have few hundreds of. Voxels, so this can save substantial amounts of time.
for i in range(1, 11): # Adjust the range based on your actual ROI names
roiName = f"V{i}"
roiNode = slicer.util.getNode(roiName)
if roiNode:  # Only proceed if the ROI node actually exists
    # Create a new CropVolumeParameters Node for each iteration
    cropVolumeNode = slicer.mrmlScene.AddNewNodeByClass('vtkMRMLCropVolumeParametersNode')

    # Set the input volume and ROI for cropping
    cropVolumeNode.SetInputVolumeNodeID(templateVolumeNode.GetID())
    cropVolumeNode.SetROINodeID(roiNode.GetID())

    # Apply cropping
    cropVolumeLogic.Apply(cropVolumeNode)

    # Get the output volume node
    outputVolumeNode = slicer.mrmlScene.GetNodeByID(cropVolumeNode.GetOutputVolumeNodeID())

    # Rename the output volume node to match the ROI with 'Cropped_' prefix
    outputVolumeNode.SetName(f"Cropped_{roiName}")

    # Optionally, save the cropped volume to disk
    # outputPath = f"C:/path/to/save/Cropped_{roiName}.nrrd"
    # slicer.util.saveNode(outputVolumeNode, outputPath)

    # Remove the cropVolumeNode to avoid potential conflicts in the next iteration
    slicer.mrmlScene.RemoveNode(cropVolumeNode)