-
Begin by opening the ACPC module in the upper left. Under the ‘Transform Panel’, create a new markups line.
-
Use this line to define the posterior border of the anterior commissure as well as the anterior border of the posterior commissure in the axial slice. You will need to toggle between slices before you place the second point to do this. Verify in the sagittal slice that this line is accurate.
-
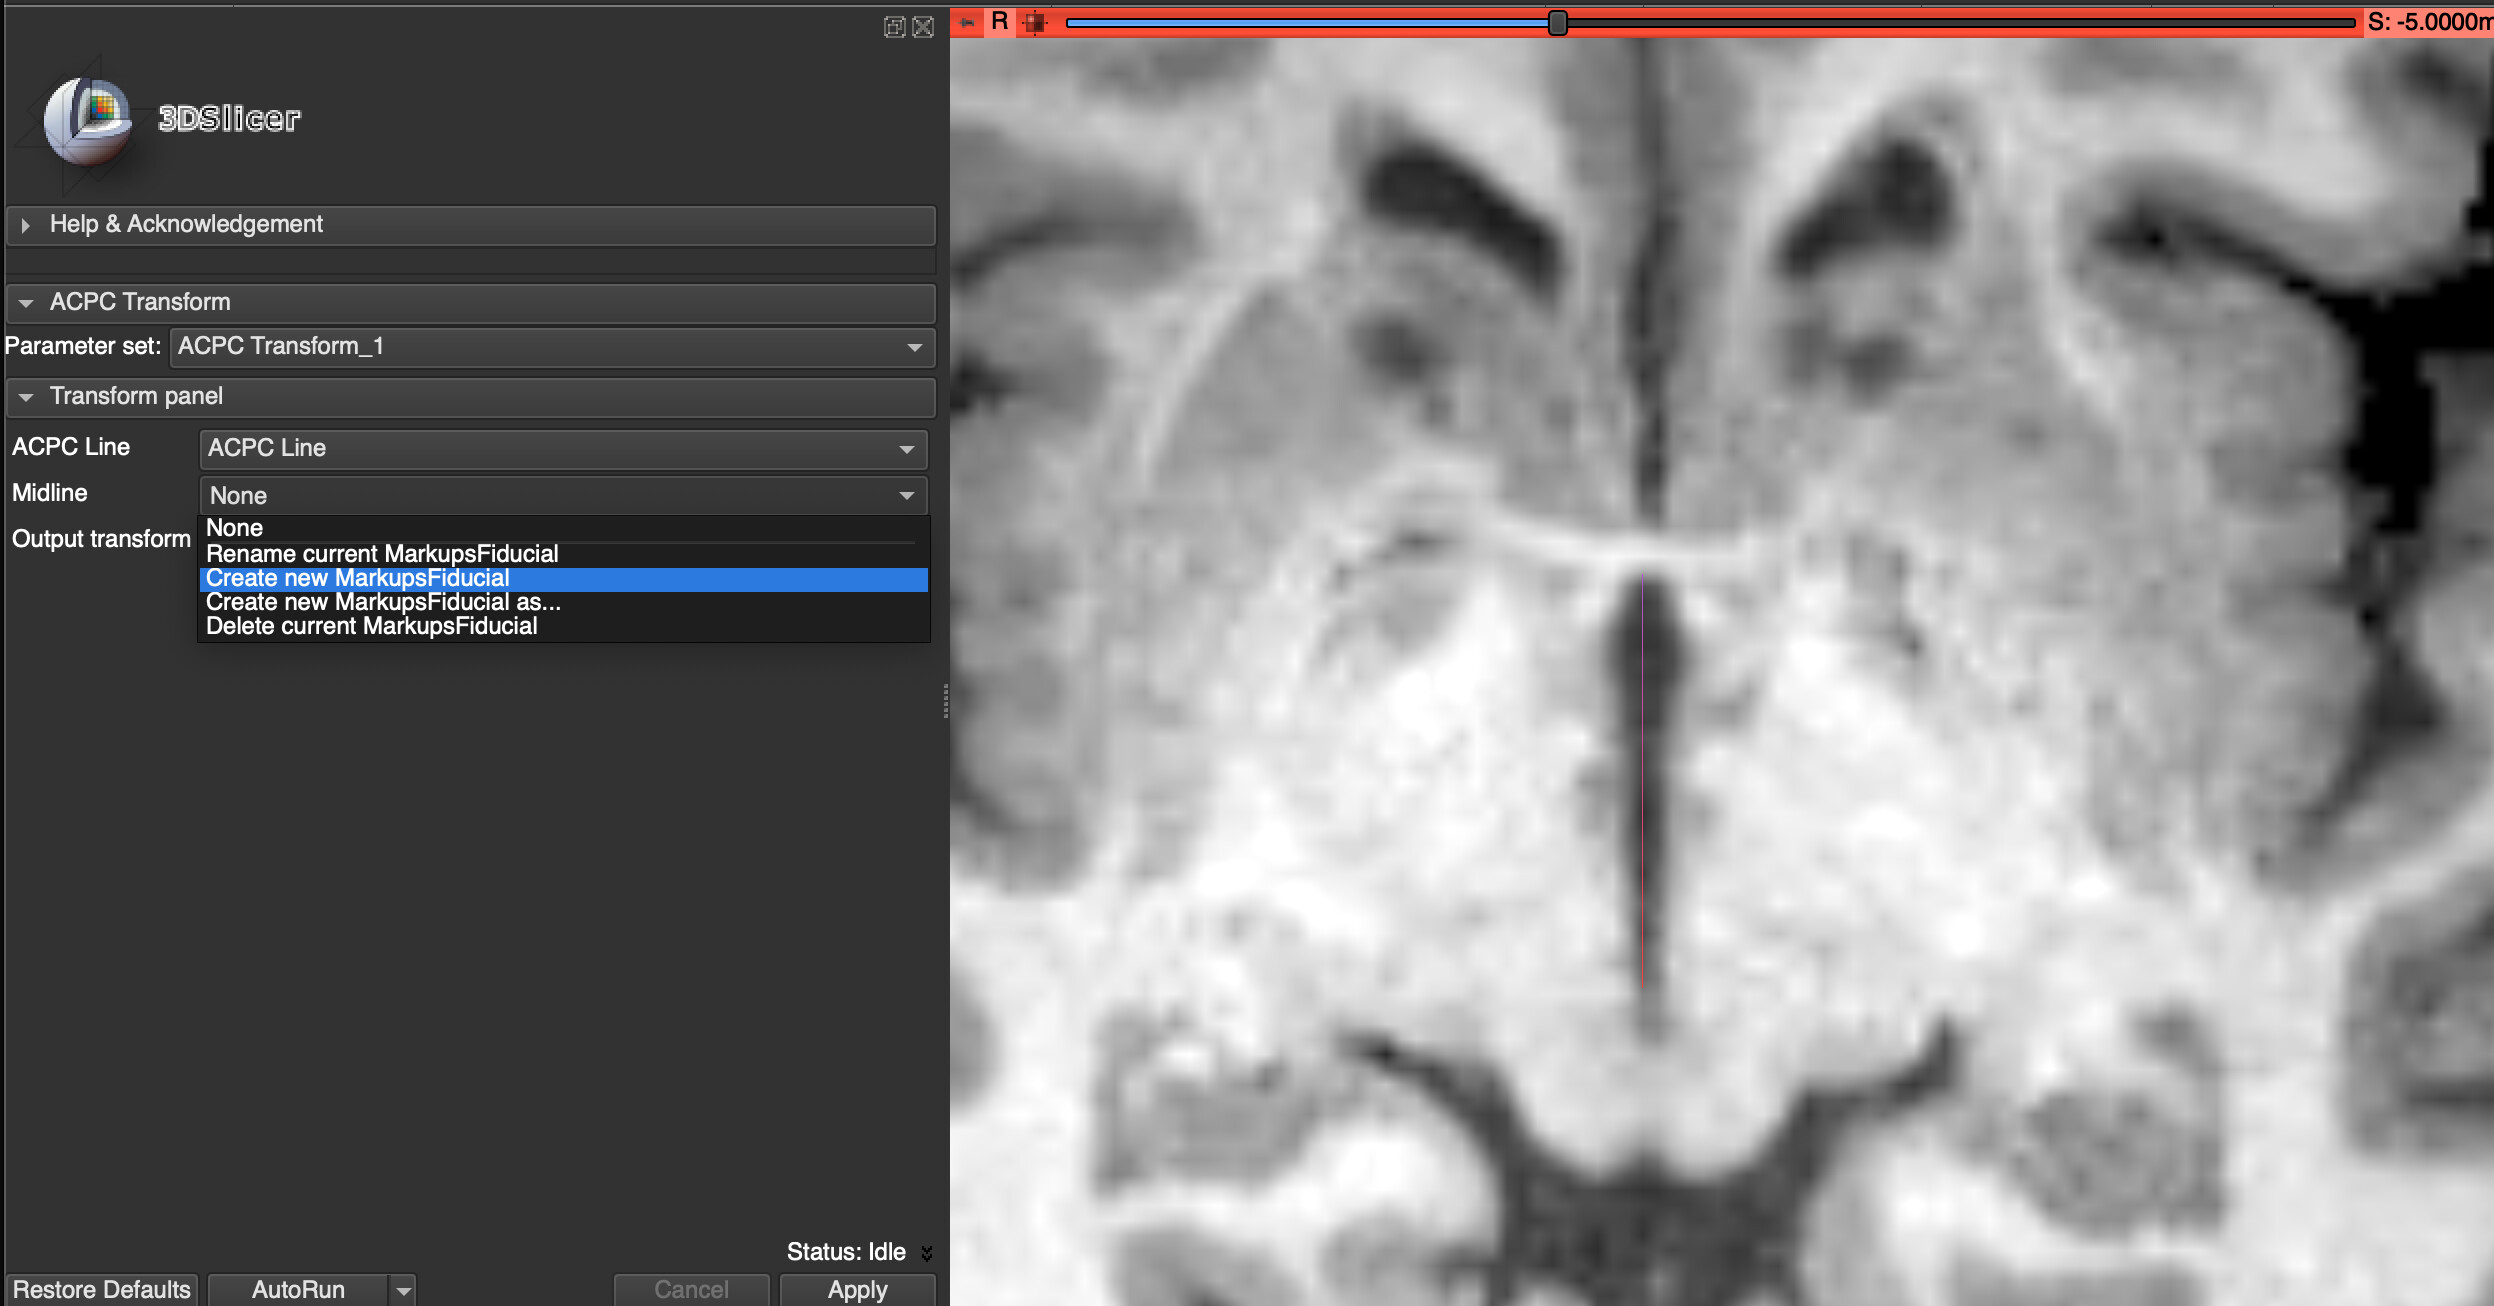
To create the midline, select ‘Create New MarkupsFiducial’ from the dropdown.
Select at least 5 points along reliable midline structures, (e.g. third ventricle, cerebral aqueduct, etc) ideally on different slices.
-
Under output transform, select ‘Create New Transform,’ and then Apply.

-
Open ‘Data’ in the dropdown to navigate to the Subject hierarchy.

-
Right click on the grid along your original MRI scan and select ‘Output transform’. Then, reselect this same scan, and select ‘Harden transform’.


You have now completed your AC-PC transformation!