Dear teachers, as you can see, I made a bone flap, but there is a little bulge. Is there any tool to change the curvature of the model so that it will be perfect?Or is there a way to reshape the model like an iron wire, which can be twisted

You can warp your segmentation using Fiducial registration wizard (in SlicerIGT extension). It allows you to define landmark positions on your current segmentation (“From”) and define a target position for each of those landmarks in another list (“To”).
A completely different approach could be to mirror this CT along the left-right axis (or warp a healthy individual’s head CT to this one) using image registration. This new volume will have bone at the location where you previously had a hole, so if you choose this new volume as master volume, you can easily fill in the hole using Paint effect (with “Sphere brush” option enabled and “Editable intensity range” in Masking section set to include only bone).
A good way. I tested it and the result was perfect. Thank you very much Professor Andras Lasso
Which method did you end up using successfully?
I use the skulls of healthy people to rigidly match, and then segment them. Very good results can be obtained. For some patients with frontal bone defects, the mirror method is not acceptable, but normal skulls can be matched and subtracted.
One way in Minics is to draw some curves on the edge, and then generate a surface based on the curves
Thank you. It looks nice! If you ever need to touch up the boundaries between the patient and template, you can use the recently added smoothing brush feature.
I don’t know why version 4.13 is a beta version, so I still prefer to use the stable version 4.11.I hope to use the stable version 4.13 
We have that feature implemented in several modules that have not been publicly released yet (the PI prefers to get publication out before making the module available). Probably they will be out in about 6 months. In parallel, @RafaelPalomar is working on new markups for curved surface editing. Since we have multiple funded projects to add/improve surface editing capabilities to Slicer, I would expect that we will have multiple new tools available within a year.
We are close to fixing all the regressions that recent developments introduced. Probably the new stable will be out within weeks.


The missing area is so large that mirroring the other side of the skull would probably work better - as described above:
Is your input a CT image?
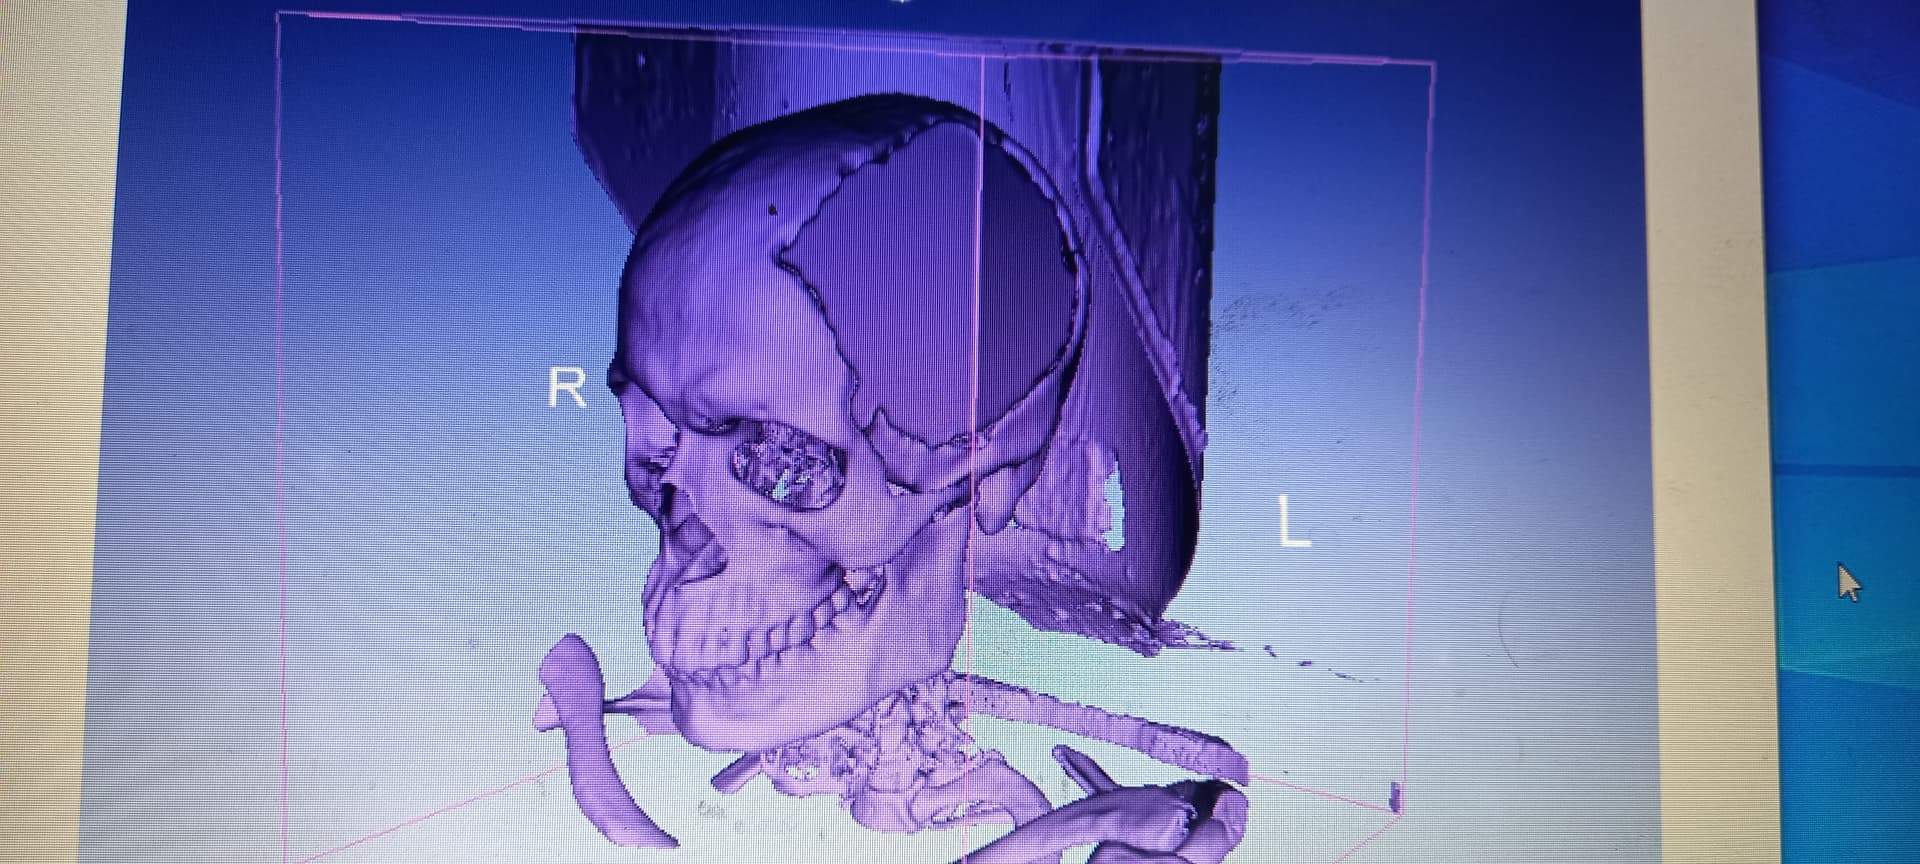
Yes i am Using CT SCAN BRAIN WITH 3D RECONST
If you have a CT image as input then then a workflow like this should work:
- Import the CT
- Create a copy of the CT (by going to right-click and click Clone)
- Mirror the CT around the LR axis by applying a transform in Transforms module that has
-1in the top-left corner and then click the harden button to harden that transform on the volume
- If the original and mirrored CTs are not aligned then harden the needed, align the original and the cloned image using registration method described on this page
- Select the original CT as background volume (by clicking on the eye icon in Data module)
- Go to Segment Editor module
- Create a new segment, segment the skull using Threshold effect
- Click “Show 3D” button to see the bone in the 3D view
- Select the mirrored CT as master volume
- Create a new segment
- Use Threshold effect to specify editable intensity range (to limit painting to bone region)
- Select Scissors effect
- Choose Fill inside mode (so that region that are circled will be filled in the segment)
- Choose Masking / Editable area → Outside all segments (to prevent the new segment overwriting the original bone shape)
- Trace the boundary of the defect using Scissors in the 3D view

Sir can you a vedio tutorial for the above mention procedure
I had tried it but unsuccessfull
Are you willing to share the data?

It seems that you have missed this step:
- Use Threshold effect to specify editable intensity range (to limit painting to bone region)
Select the bone intensity range and then click “Use for masking”. After this, Scissors effect will only fill where there is bone in the master volume.
What would you do if the defect was bilateral or located in the midline? This procedure would not work. Does 3d Slicer have any method of reconstructing such defects? Thanks!
You can register a similar patient’s skull with deformable image registration, or create a flap from scratch using Baffle planner module (provided by SlicerHear extension):