Volume rendering - staircase artifacts

We have been discussing this tweet that compares volume rendering in Slicer to the commercial VG Studio software. The question of staircase artifacts came up and thought that the discussion could be of general interest.

Image volumes consists of discrete point samples, which can create two main type of rendering artifacts: staircase artifacts and Moire pattern.

image

1. Moire pattern on the surface

The pattern looks like elevation lines (points along a line are at equal distance from the camera). The pattern changes as the camera rotates. It is caused by finite sampling distances along the casted ray.

Oversampling (Volume rendering module / Advanced / Techniques / Quality → Maximum) fixes it by taking many samples of a single voxel along the casted ray. There might still remain some visible structured pattern in the image, but that is actually a staircase artifact.

image

Surface smoothing (a.k.a. jittering, in Volume rendering module / Advanced / Techniques / Surface smoothing) removes the Moire pattern in a clever way, by slightly shifting the starting position of the samples. This replaces the elevation lines by a random noise pattern. Since the number of sampling points remains the same, it does not slow down the rendering.

image

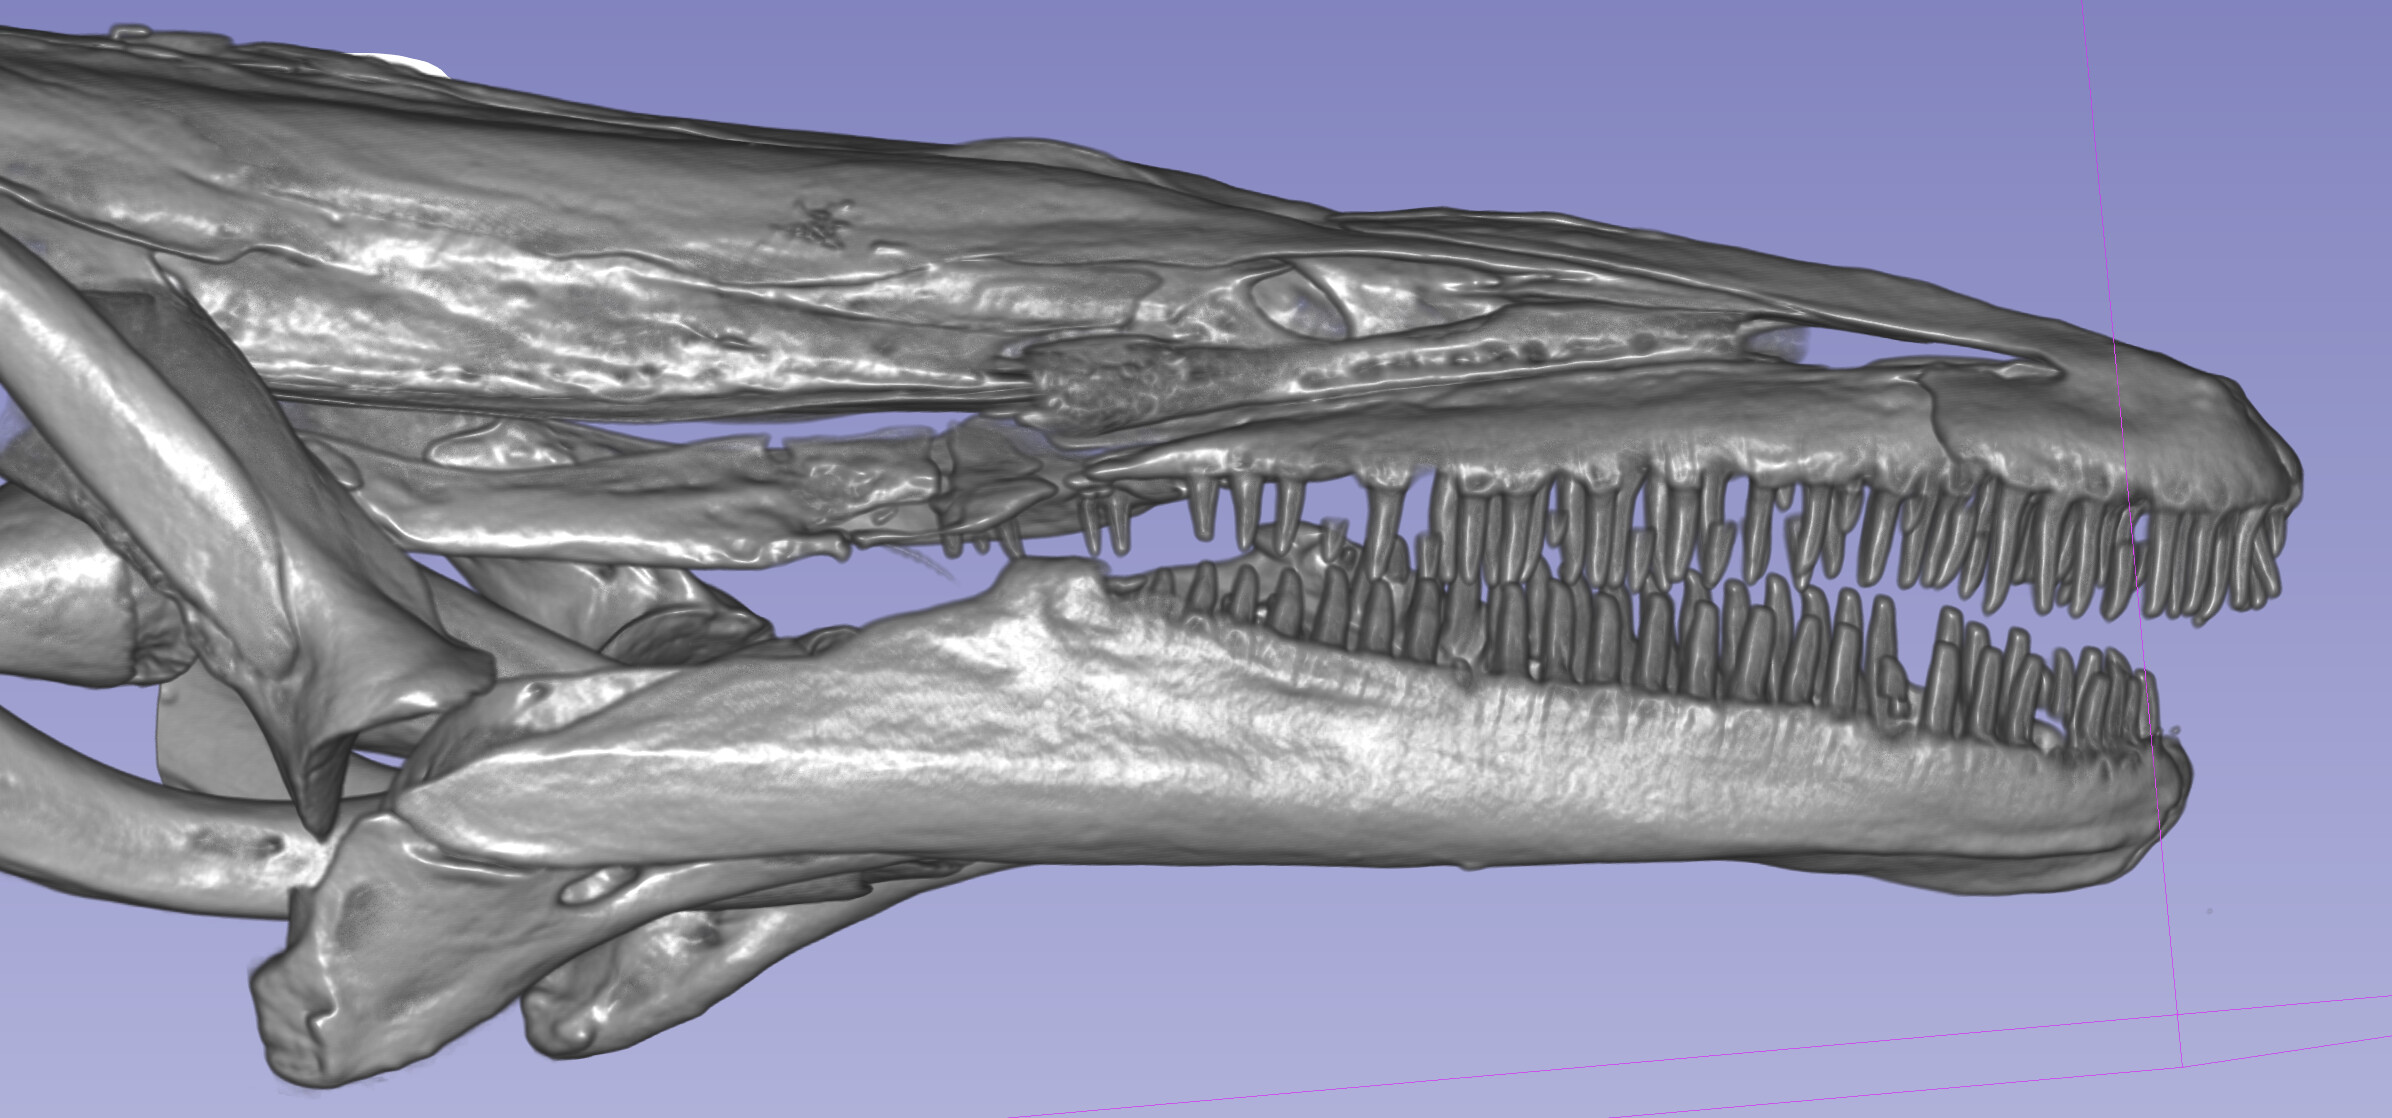
2. Staircase artifact

Most visible in regions where there are big differences between neighbor slices. Most commonly visible along Z axis, between slices of a CT image. It is caused by insufficient sampling.

The volume renderer assumes that the voxels are samples of a sufficiently densely sampled continuous 3D signal. However, a continuous signal can only be reconstructed from discrete samples if the Shannon-Nyquist sampling criteria is fulfilled (sampling frequency is at least 2x higher than maximum frequency in the image). In CT imaging this criteria is often violated: rate of change between neighbor slices is usually not limited by sampling distance along the Z axis. Not sufficiently dense sampling can cause slight staircase artifacts along other axes, too, typically only visible as slight color patterns (see second image from the top).

Since information is due to insufficient sampling, there is no way to recover all the details of the original signal. However, a bandwidth-limited signal can be reconstructed by applying low-pass filter (e.g., a simple Gaussian smoothing) to ensure the Shannon-Nyquist criteria is not violated. For example, by applying Gaussian smoothing (Simple Filters module / SmoothingRecursiveGaussianImageFilter, Sigma: 0.1, 0.1, 3.0), staircase artifacts are suppressed:

image

Stronger smoothing can remove all the staircase artifacts but may also remove relevant details from the image.

Next steps

There is room for improvement, for example the Gaussian smoothing could be performed in the GPU on-the-fly and maybe some more sophisticated image reconstruction algorithms could be used instead of Gaussian smoothing (e.g., using deep learning).

However, instead of improving volume raycasting in Slicer, it is probably a better time investment to make VTK’s new physically based rendering surface rendering and evolving photorealistic volume rendering available in Slicer.

2 Likes

Hi, this is a great discussion topic.

I would like share the files (Google Drive Link) used to generate the 3D Slicer image in the original twitter post, as well as the original photo. I think it’s important to note that I did downsample the original CT data by a factor of 2, just to make the process run a little smoother on my computer.

Unfortunately, I do not have the original VG Studios Max files, since I did not create it. The photo in my tweet was pulled from here.

1 Like

This is great, thank you for sharing. As I understand, you downsampled the original volume by 2, then do a segmentation for skull, and used SplitVolume to extract the volume under the segment and rendered it. If that’s the case it is normal that the staircase are more prominent. Couple suggestions.

If you can import the full dataset into your computer (i.e, you don’t have memory problems etc), what you can do is go to SplitVolume and use the master volume as the full resolution image. That will crop out the same region as your current one but at the full resolution. Going by the numbers in your downsampled volume that should result in a 560x472x1452 which is not all that big for most laptop GPUs.

Also your segmentation has sharp edges, when you mask/split the volume based on that mask, this might cause issues. If the goal with the segmentation is to just isolate skull, then you can grow your segment a little bit, and then run smoothing, this should also take care of some of the small holes in your mask.

Also, make sure you switch to Normal in the Techniques setting of the Volume Rendering. Adaptive gives a poorer image, and for most cases interactivity is better with Normal.

1 Like

For final rendering, you can set quality to Maximum (which removes the Moire pattern without adding any noise). You can render a rotating animation using Screen Capture module.

You described my process correctly. When I created the image, my focus was primarily on the matching the color palette of the VG studio image. I was aware of the staircases but I wasn’t actively trying to minimize them. I can certainly see why downsampling would make the staircase effect more prominent.

I tried some of your suggestions of using the full res data and growing the segment before using SplitVolume. I would argue that the results are not necessarily better.

First, here’s the downsample data where I grew the segment before using SplitVolume

As you can see, the staircase effect is reduced but some definition is arguable lost but overall I think it’s an improvement.

Now, here’s when I used the SplitVolume on the full resolution data without growing the segment.

The image is very sharp! However, the staircase effect is still there. The steps have just been made smaller.

Lastly, the full resolution data with segment grown before spliting

It’s better but I’m not sure that it’s great. I was hoping to see something more similar to the first image up top with the down sampled data and a grown segment, but with more definition. Here, the staircase effect is reduced but still present. However, overall I still think this is a great rendering and better than when I didn’t grow the segment before using SplitVolume.

I personally didn’t notice any difference when setting the quality to Maximum vs Normal vs Adaptive.

In the last one did you run a smoothing filter after you expand the segment? I think you did on your 1st of the three images (one name downsampled_smooth).

So I pulled the original data from MorphoSource.

Here is the rendering with a simple ramp from 15,000 to Max. You can see there are almost no staircase effects or moire patterns. This is with Normal quality, with surface smoothing enabled.

Unfortunately your VGStudio volume property didn’t work with this image, because original data was 16bit and along the way it got converted to 8 bit. The point is, all conversions (plus the segmentation) does impact the image quality. 8 bit representation is usually ok for dry skulls, but this appears to be wet tissue specimen (skin + soft tissue + bones). So if you need to use 8 bit representation, you will have to experiment with rescaleIntensity filter to preserve as much of the dynamic range associated with bones at the expense of soft tissue.

I do not have much more time today to comment on this, but we covered some of these discussion from 16 bit and 8 bit previously on the forum.

I did some experiments too with the original volume rather than the output of the segmentation and while it’s better, the version you shared is only 8 bits per pixel so the stairsteps are “baked in” to the data.

I cast it to float and did a gaussian smooth with sigma of 0.02 and it’s a bit better, but I agree with Murat that using the original data without casting to 8 bit is much better.

image

If you want to use your segmentation to remove the other bones, probably the best is to segment the region you want, grow it by a bit, then use the Mask Volume from Segment Editor Extra Effects to remove everything that’s not in your segment and then volume render the result.